Learn how to customize the look of your hhimagehost, configure your payment methods and the contact info shown to your customers.
STEP 1 ACCOUNT SETTINGS

Login to hhimagehost.com
Click on Settings icon
STEP 2 SITE BRANDING
2A Photographer Logo or Banner

| Click file icon Browse for file |
2B Background Image and Additional Graphics

| Click file iconBrowse for file Continue with other graphics |
2C Fonts and Colors

| Choose color options as needed to match branding |
2D Welcome Message

| Replace “Welcome to Image Sales” with a personalized message |
2E Save and Continue

Click “Save and go to Personal Settings” to continue
STEP 3 BUSINESS INFORMATION
3A Business Information

Note Studio URL prefix, based on Studio Name
URL = (studio name prefix).hhimagehost.com
3B Site Management

Set “Order Minimum” if you choose to
Select Watermark option
Load Watermark graphic is “custom” option chosen
3C Public Contact Info

| Update any contact info that needs to be different than account settings Click Save |
STEP 4 ACCOUNTING SETTINGS

Click Accounting Settings on left-hand menu
4A Accounting Security Passphrase
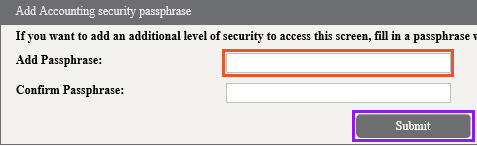
Add Security Passphrase, to add an extra password protection to bank info (optional)
Click Submit to save
4B Credit Card Information on File

Click Edit to update credit card info if needed (used for monthly charge)
4C Bank Account Information
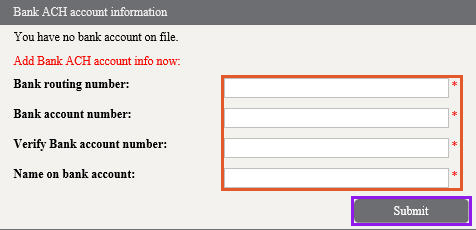
| Add bank account info (used to pay out sales) Click Submit to save |
4D W9 Information

Click “Edit” to fill out W9 tax information
4E Email Forms

Update “Contact Us” if you choose
Update email response if you choose
Click Save
Comments
0 comments
Article is closed for comments.